欢迎各界人士在这里
歡迎來到我的網站!我很高興你正在訪問的。請欣賞我的藝術。我希望它inpires你。 💟 請原諒任何錯誤。我用谷歌翻譯。 Welcome to my website! I am so glad you are visiting. Please enjoy my beautiful creations. I hope you feel inspired. 💖
Expressive * Fine Art Storytelling * Colorado & Washington USA

歡迎來到我的網站!我很高興你正在訪問的。請欣賞我的藝術。我希望它inpires你。 💟 請原諒任何錯誤。我用谷歌翻譯。 Welcome to my website! I am so glad you are visiting. Please enjoy my beautiful creations. I hope you feel inspired. 💖
ברוכים הבאים לאתר שלי . אנא ליהנות יצירות היפות שלי . אני מקווה שאתה מרגיש השראה ! אנא סלח כל טעויות . השתמשתי בגוגל תרגום.💖 Welcome to my website. Please enjoy my beautiful creations. I hope you feel inspired! Shalom. 💖 אניחיים אמריקאים במדינת וושינגטון . אני אוהב תיאטרון , ציור שמן , ראייה,וריתוך . … Read more
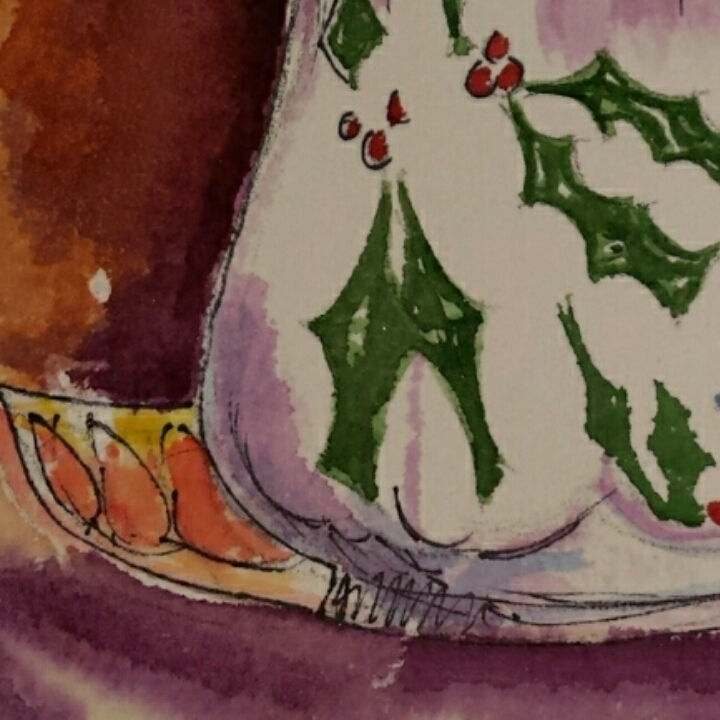
Recipe-Grandma’s Friendship Tea Note, (noodle day at Andrew’s) 3-22-77 1 lb. 2 Oz. Tang 1-3 pkg. dried lemonade 1/2 C instant tea 2 C sugar 1 T cloves 2 T cinnamon Mix dried ingredients together. Use 3 tsp to 1 C hot H2O. Merry Christmas! Little painting by Angela.
All Welcome Here
Defying hate
I want to go back
Hi, folks. I’ve signed up for something really big. I have an account over on Patreon. Follow link to my page. A long time ago, wealthy individuals and families would support artists to paint, sculpt, and create works of them and for them. Patreon has brought that generosity into the 21st century. You, as a … Read more
مرحبا بكم في موقعي الإلكتروني! أنا سعيدة جدا لأنك كنت تزورين. يرجى الاستمتاع بفني. آمل أن أشجعك. 💟 أرجو أن تسامحوني على أي أخطاء. استخدمت جهاز Google Translater. فلسطين الحرة
The coast is a special place to me. I grew up in high altitude where the plains meet the Rocky Mountains. There wasn’t a lot of standing water there. The ocean was this amazing, mysterious place that I saw maybe a few times when I was a child. It was vast and blue. Moving to … Read more
THIS…is what I am talking about:The Buddha Called. A custom order flew in from the ethers when I sported my Sacred Heart Margaret last month. Here are some pics during the process this weekend. Thank God for 3 days off! There are four pieces to this purse; 8 total with inside lining. The matte board is … Read more