Lil’ Lit

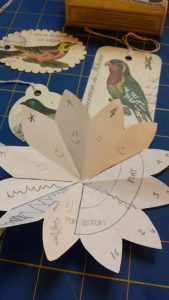
Small book. Tiny handwriting. What does it say?

Haiku and small poems about my daily bus ride to Olympia. Over the last 4 years I’ve logged thousands of miles up and down I-5 and hundreds and hundreds of trips.

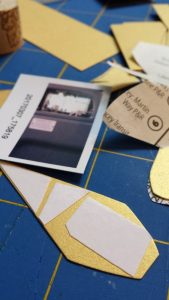
Here are some in process photos of the making of “The Commute-Tacoma, Olympia”:
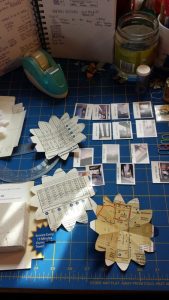
I took photos on the bus and had to make some design decisions.
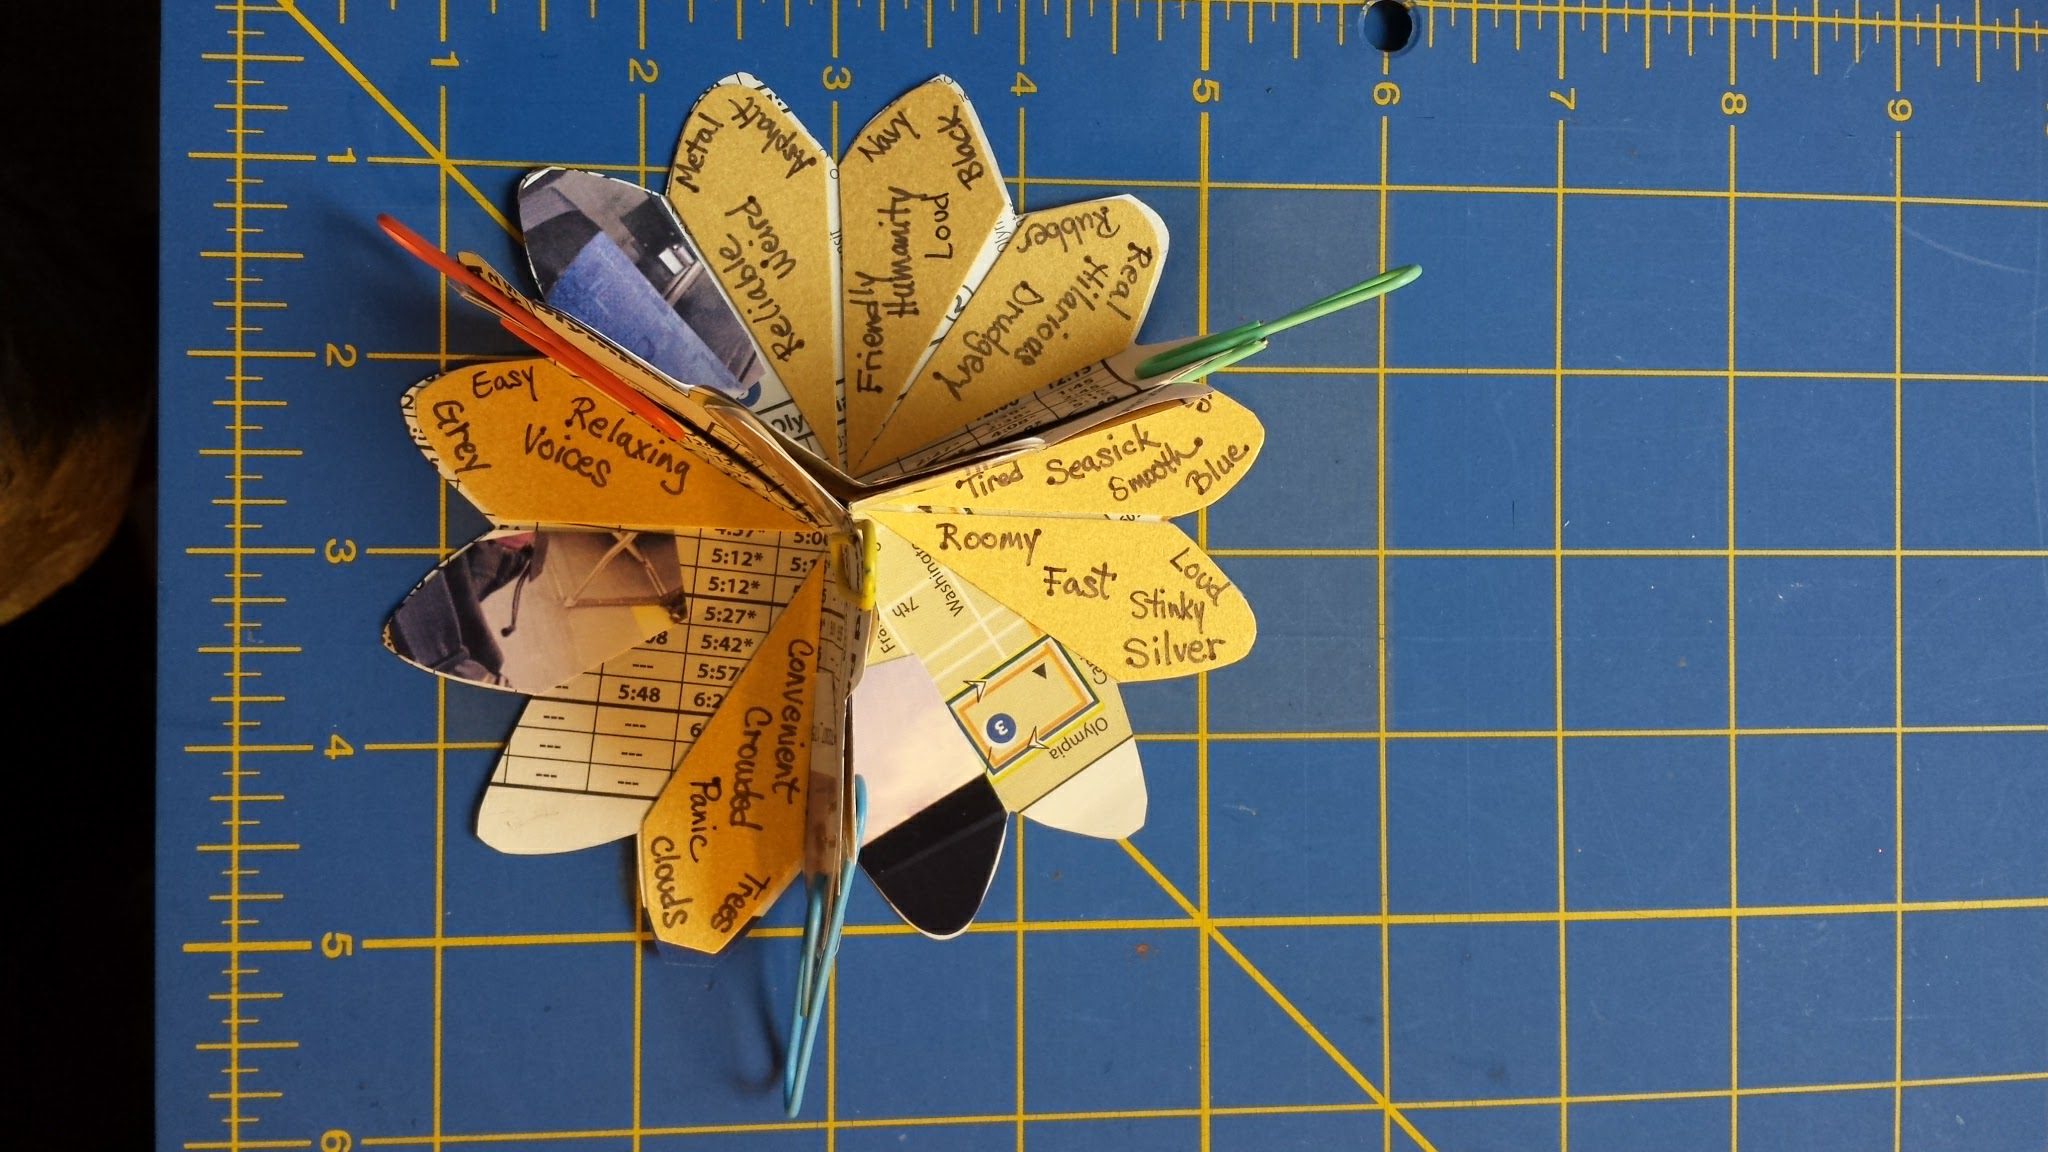
Inspired by an artist book made with a clam shell, I decided to use this shape.
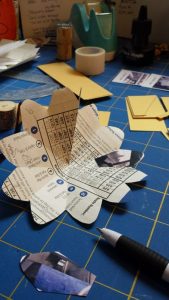
I cut up the most current schedule for my pages and box.

As I am making, all the while I’m thinking about the smells, sounds, rhythmic rocking, and views out the window that I see over and over again. How can I capture it within such a small work, and one I want to fit into a small box?
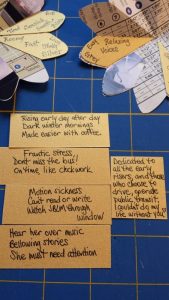
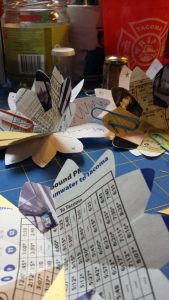
Things I want to highlight in words. I love words. I love to pepper my work with them.
How can I put this thing together? Do I want to make it permanent?
Now it is a flower, not a starfish. Still organic, not quite sure how it fits with the bus, yet.


This book was created for the 2017 Puget Sound Book Artists Exhibit, Northwest Musings. Come see this book and many other beauties through through July at the Collins Library, University of Puget Sound, Tacoma. <3

Carving Again

I fell in love with printmaking at The Evergreen State College. The ink smell, cleaning “green” using cooking oil, the sound of the presses, hand-cranking them across damp paper, the inspiration of antiquated art-forms… Thanks, Colleen!

Rubber and Speed Ball.

Upclose and personal.
Custom card for someone very special.
Yes, insects appear. Everywhere.
Signature
hand carved clovers, positive and negative


Making Small Books

I did something that I have wanted to do for two years; I finally joined the Puget Sound Book Artists, PSBA. The annual meeting was yesterday and I met some folks I have known about and watched their art careers forever, it seems. It was a very gratifying day. There were a lot of nice people, good food, and amazingly beautiful items for auction and show-and-tell. Handmade books, boxes, papers…<3 My art has been wanting to go this direction for a long time. This is the yearl

My welcome letter had instructions and cut circles to create a book. Below are some pictures of the project as I put it together. It was really easy and came out so cute. My intentions for the year are written inside and I can read them to remind myself any time I want. What intentions do you have for 2017?

yellowstone

art space

retail

sewing

loving my family

Making the Reversible Margaret

THIS…is what I am talking about:The Buddha Called.

A custom order flew in from the ethers when I sported my Sacred Heart Margaret last month. Here are some pics during the process this weekend. Thank God for 3 days off! There are four pieces to this purse; 8 total with inside lining. The matte board is for the bottom reinforcement.

Patterns made of cardboard. This is vintage paisley fabric from the 1970’s.
Pieces cut. The white oilcloth is underneath.
My chicle pattern square. I came up with this a long time ago, just playing around with scrap oilcloth.
Buddha. He does have a happy smile on his face. I decided to add a lotus shape behind his head.
Buddha, pre-batting.
Looking good!
Signed and finished.
Next?!

Little, Homemade Books

My dad is still recovering from a horrendous spinal infection he unfortunately contracted in 2008. We thought he was going to die when he spent two weeks in the ICU. He remained a quadrepaligic for almost 6 months. I made him a sweet little book to help him smile while he was in rehab.
This project is fairly easy and takes a little time to sew together. I checked out a book from the library about making handmade books and fell in love with this design. It looks like a “star” when open.
The materials you will need are:
Pictures of your choice    Ruler    Card stock paper    Cardboard
Decorative Paper for the Back and Cover    Ribbon    Grommets
Glitter    Glue   Scissors    Sewing Machine    Thread


Kindergarten Art

Inspired by thoughts of Spring I thought I’d share this idea. Sorry the pics aren’t the best. My digital camera is dead so my phone camera is all I have right now. After weeks of heavy winter sub-freezing temps and snow like Olympia hasn’t seen…ever, I think, I remembered this fun activity and made a friend a birthday present. It was one of my all-time favorite art projects in school. Did you do this in kindergarten, too? 😉

Materials needed for making this project:
scissors
sheet of regular or craft paper, any color
wrapping paper with an image you like or
draw one of your own 😉
Mod Podge or Elmer’s Glue
Unsharpened Pencil, Chopstick, or Pen
2 inch x 2 inch tissue paper squares (or other lightweight paper) 

Ability rating: Super Easy. Hey, I made my first masterpiece at age 6! *grin* Here’s how I did it:

My mom sent me a Valentine’s Day gift all wrapped up in pretty paper with hearts and daisys. I cut the squares apart and used a purple daisy as my “base”. I glued it to a piece of journal paper and let it dry.

Then I took a tissue square and put my pen in the center of it. I wrapped the tissue around the pen so it looked like this…

Then I dipped a little glue on the flat bottom of the tissue and placed it on my pattern. I held it in place for a few seconds to help it set, like this…


It’s best to start in the middle and work your way out and around. Place the tissue as close together as you like. You can even change the dimensions of your squares if you want. Some of my squares were cut bigger than others so the surface is uneven, but I kind of liked the look of that. Here’s a photo of the pattern before I started gluing and the finished product….

Pretty, huh? As you can see I took artistic license and used green, orange, and red ’cause I felt like it. I tore out the journal paper that I had glued my pattern on and then cut around the square. I gave it to my friend that way, but you could try using something to hang it up. She really liked it and she’s a kindergarten teacher so this was the perfect gift for her! 

One thing to mention is that your pen, chopstick, or pencil will start to get glue on it since the tissue is so fine. I just rub the glue off with my fingers or a rag. If you happen to do a project inspired from this, share it! Or if you come up with a great display idea, share that too. I would love to hear from you.

 Spring’s a comin’. Hang in there and make something beautiful for someone…everyone you know needs it more now than ever.